



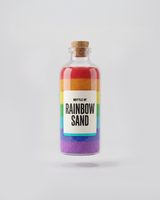
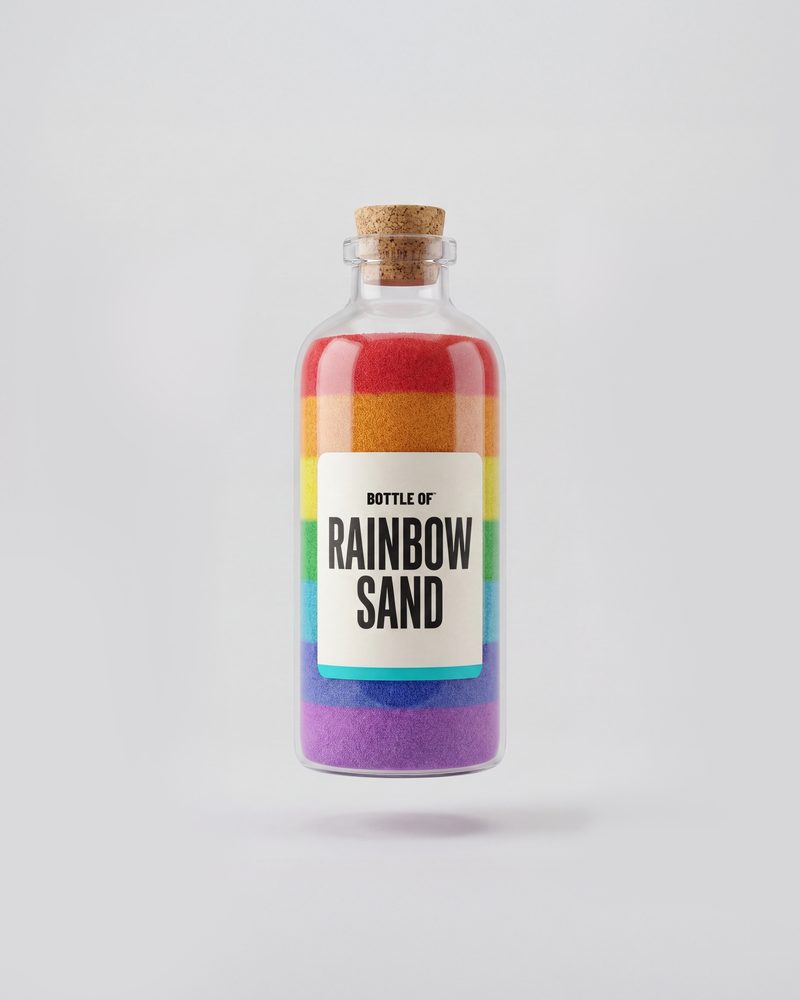
Bottle of Rainbow sand
Rainbow sand is bright craft sand. Layer it in a glass bottle and you have a keepsake that lasts for years.
Shop on AmazonUpdated
Rainbow sand is bright craft sand. Layer it in a glass bottle and you have a keepsake that lasts for years.
Shop on AmazonUpdated
Draw with glue, pour sand over it and tip off the rest. One color at a time.
Turn it a little between colors for waves instead of straight lines.
Rub a stick of chalk over a pile of salt on paper. Instant colored sand.
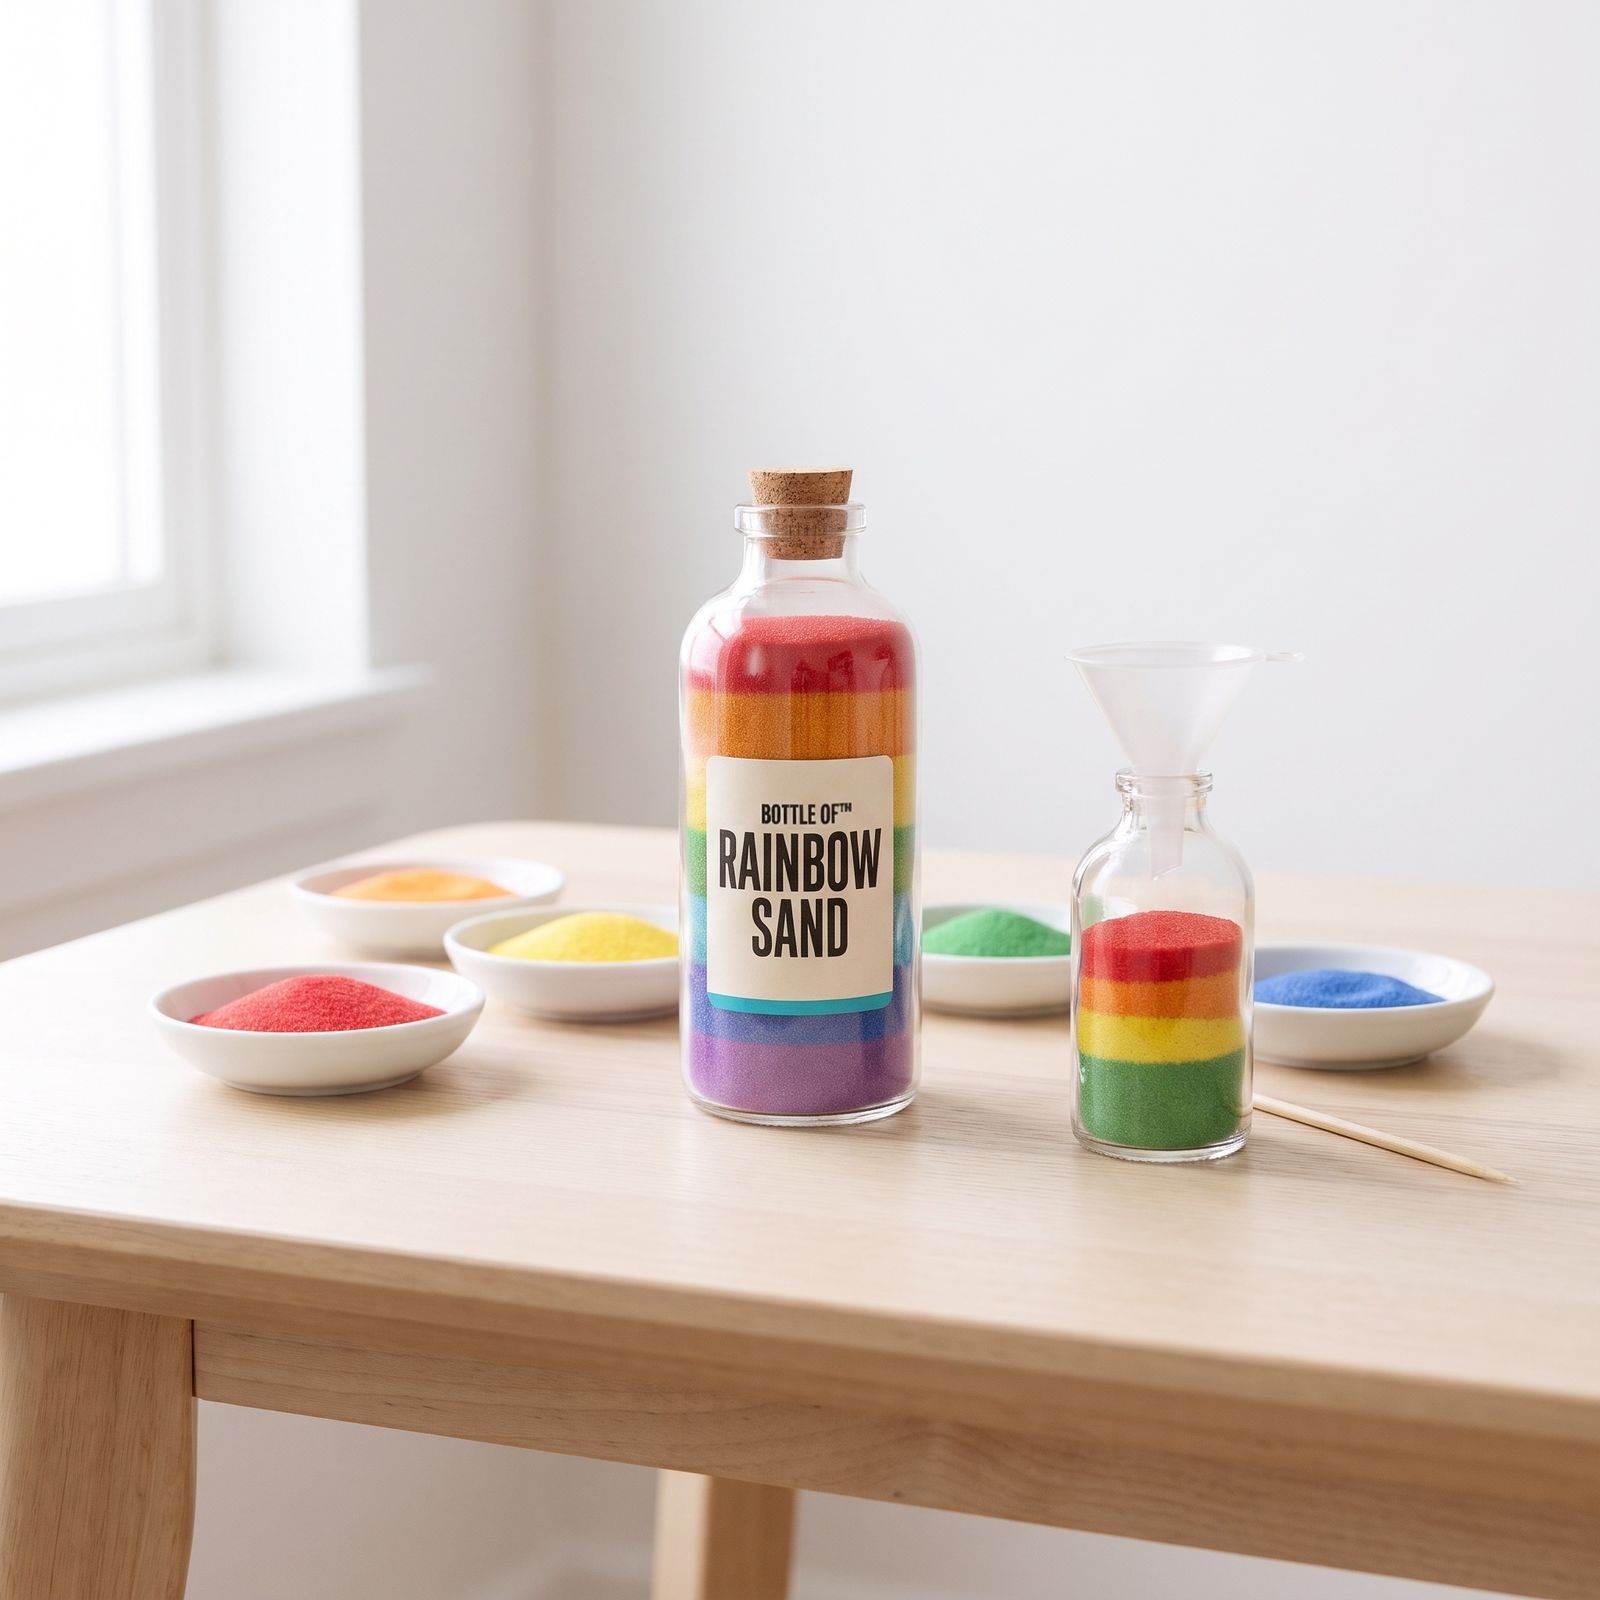
How to · With rainbow sand
Fine, dry sand pours smoothly and makes neat layers. Coarser sand is better for gluing onto paper.
Look for colorfast sand that won't stain hands or fade on a sunny windowsill.
Glass looks best on a shelf. Plastic bottles are safer for small children to fill.